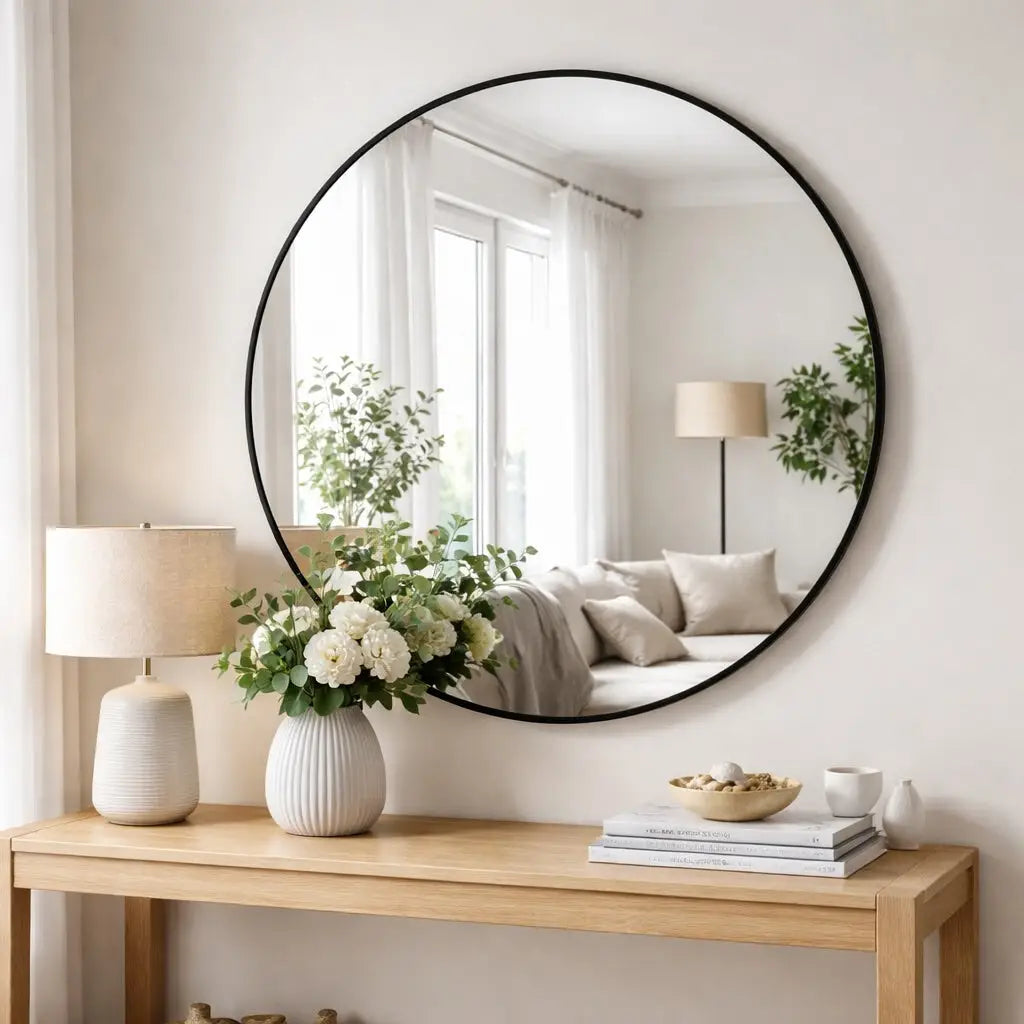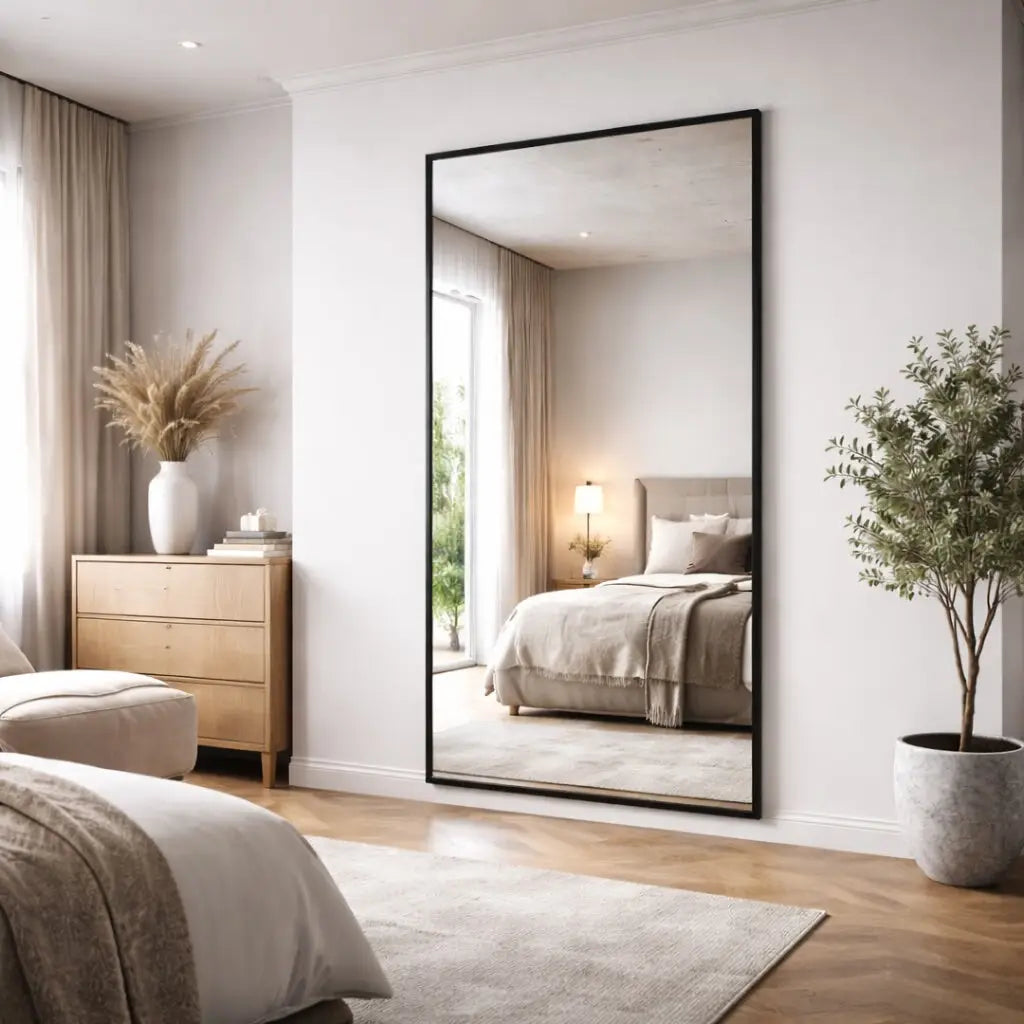

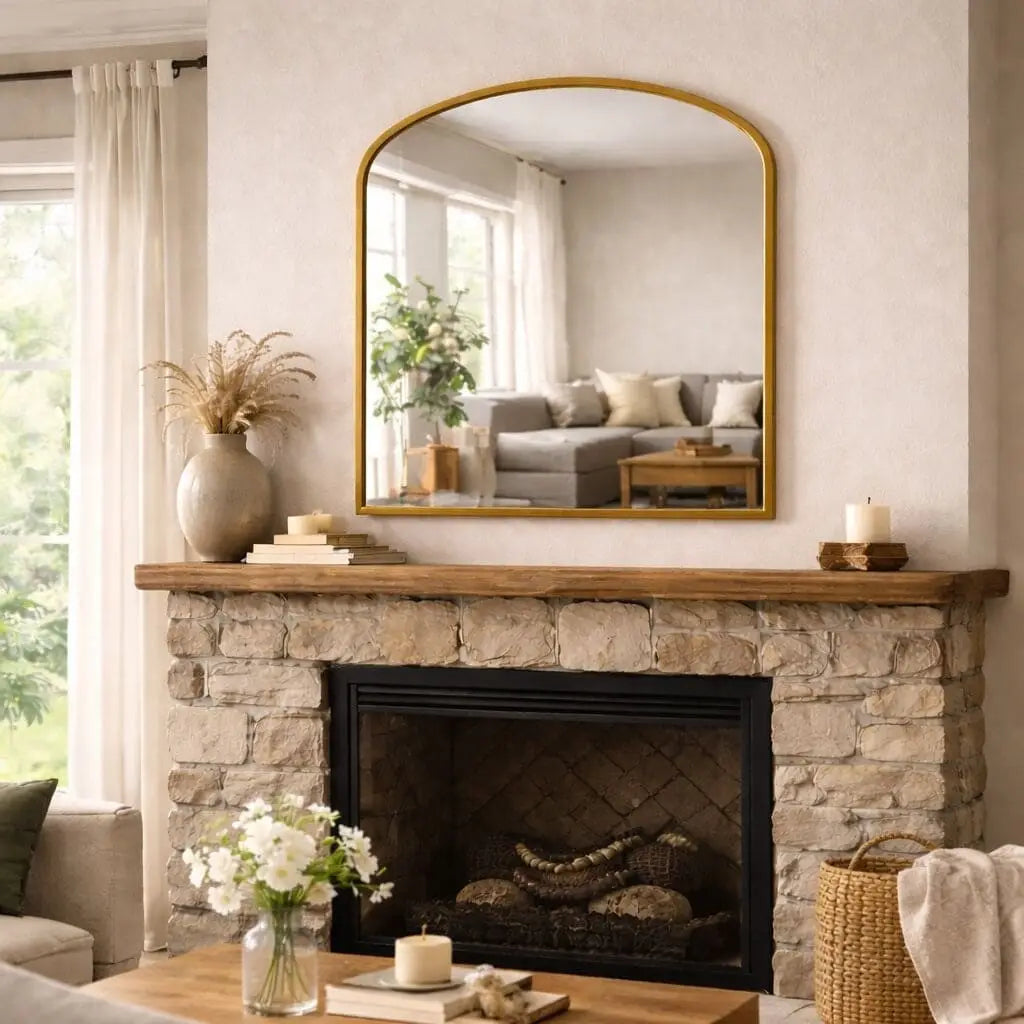
Arched mirrors are one of the most effective ways to elevate a room. The soft curve draws the eye upward, makes ceilings feel taller, and introduces architectural balance without adding visual clutter. Whether you’re styling a hallway, bedroom, living space, or dressing area, an arched mirror instantly makes the room feel more refined and considered.
If you’re choosing your first arch mirror (or upgrading to a larger statement size), the Yoko and Akiko ranges combine premium black and gold metal finishes with professionally positioned hanging points for secure wall mounting.
Explore the full collection here: Jobu Arched Mirrors.
Part One: Why an Arched Mirror Belongs in Your Home
The rise of the arched mirror in modern interiors
Interior design has moved beyond rigid geometry. While straight lines still provide structure, modern spaces feel better when softened with curves. An arched mirror introduces that softness while maintaining a clean architectural profile.
The curved top naturally lifts the eye, helping rooms feel taller and more open. In hallways, it brightens narrow spaces. In bedrooms, it adds hotel-style polish. On large feature walls, it creates an intentional focal point without overpowering the room.
Yoko vs Akiko: subtle curve or stronger statement?
- Yoko (Gentle Arch): A softer, modern curve that feels sleek and versatile. Ideal for everyday styling in hallways, bedrooms, and dressing areas.
- Akiko (Defined Arch): A stronger arched profile that creates a more dramatic feature, especially effective in larger rooms and statement wall settings.
Featured Mirror: Yoko 160x60cm Gold Gentle Arch
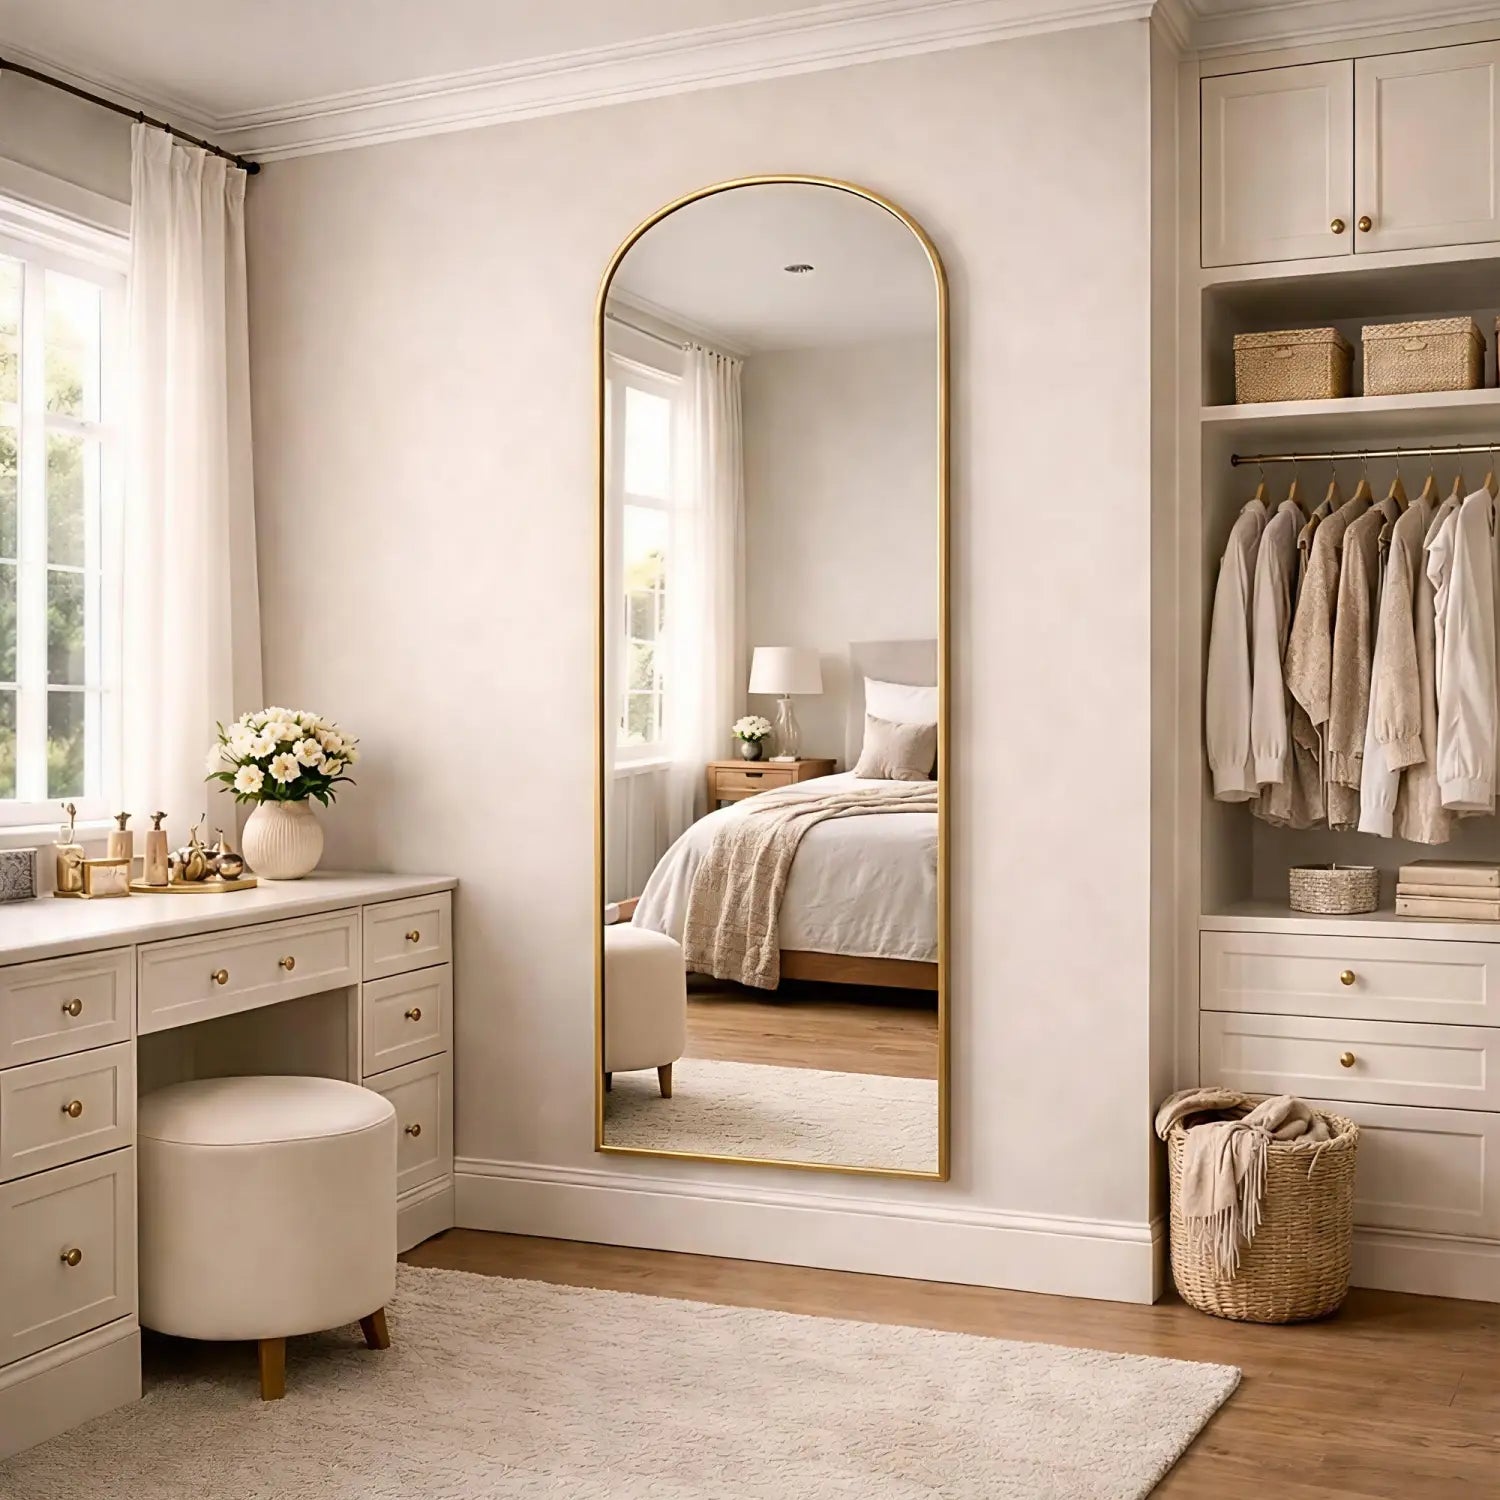
The Yoko 160x60cm gold gentle arch mirror is perfect for hallways and dressing spaces. The slim metal frame keeps the look refined while the tall shape reflects light beautifully.
- Elegant gentle arch silhouette
- Full-length functionality
- Premium gold metal frame
- Secure multi-point wall mounting design
Statement Piece: Akiko 200x120cm Gold Arched Mirror
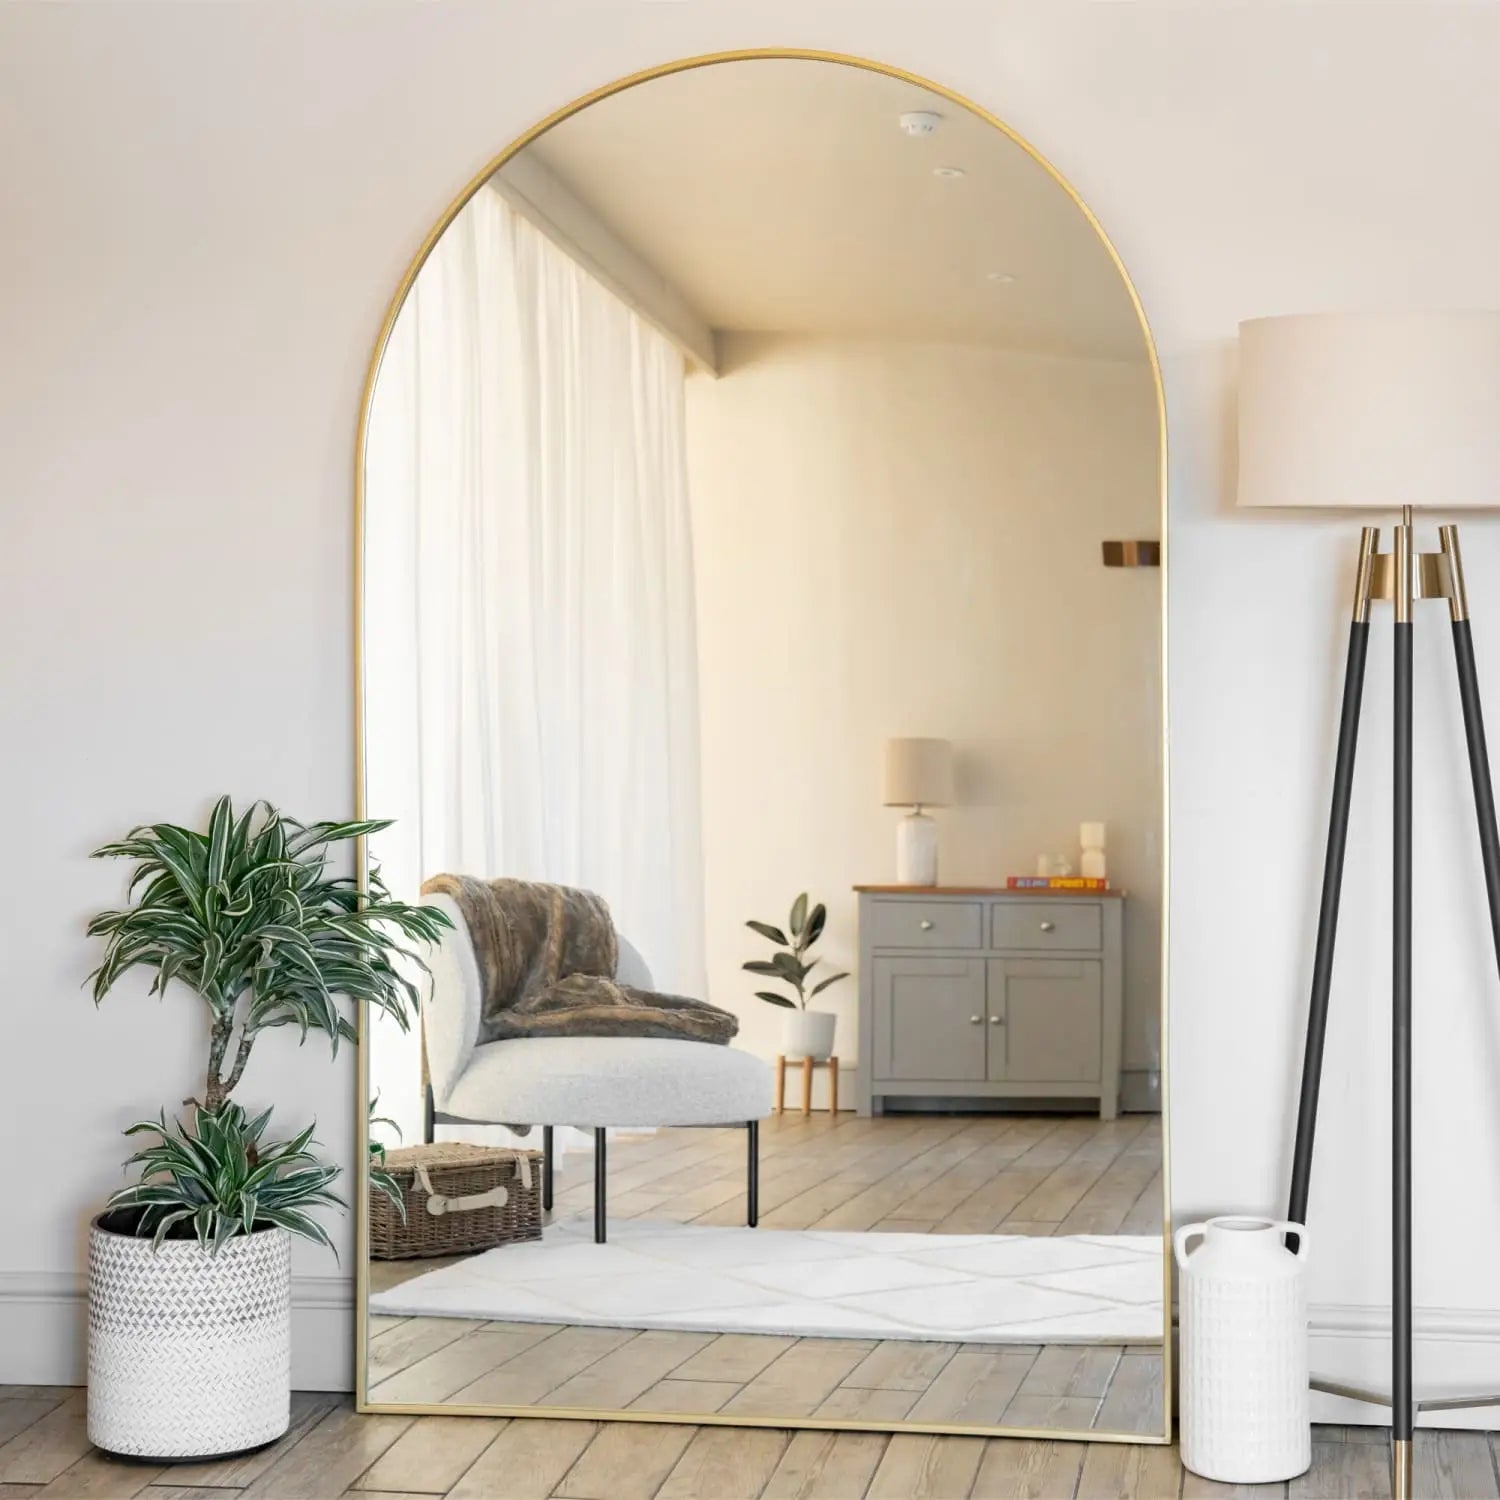
The Akiko 200x120cm gold arched mirror is designed for larger spaces. Its generous proportions amplify light and create a dramatic architectural focal point.
- Oversized 200x120cm design
- Ideal for feature walls
- Strong metal frame construction
- Engineered hanging system for stability
Important: Arched mirrors are portrait only
Jobu arched mirrors are designed to be installed with the arch at the top. They are not intended to be rotated into landscape orientation, as the hanging points are positioned specifically for safe upright mounting.
Part Two: How to Measure, Position, and Hang Your Arched Mirror Correctly
Installing a large arched mirror correctly is essential for both safety and appearance. Because the curved top draws the eye upward, even small positioning errors can affect how the mirror feels in the room. The steps below help you measure accurately, position the mirror exactly where you want it visually, and select appropriate load-rated fixings for your specific wall type.
Tools and equipment you will need
Before you start, gather the right tools. This makes installation cleaner, safer, and far more accurate.
- Spirit level (or laser level) – to align the mirror visually
- Tape measure – for positioning and bracket spacing
- Pencil – for marking drilling points
- Drill – with suitable bits for your wall type (masonry / wood / drywall)
- Screwdriver or drill driver – to secure screws firmly
- Wall fixings and screws – chosen for your wall type and load rating
- Stud finder (recommended) – helps detect studs, pipes, and cables
- Step ladder (if needed) – safe access at height
- Vacuum cleaner / dust catcher – to reduce mess while drilling
- Protective gloves (recommended) – safer handling for large mirrors
For mirrors over 100cm, use at least two people for lifting, positioning, and hanging.
Pro tip: Place a soft blanket or cardboard on the floor beneath your work area. It protects both the mirror and your flooring and gives you a safe resting surface while measuring and positioning.
1) Decide exactly where your arched mirror will sit
Start by deciding the final visual position of the mirror. Think about alignment with furniture, lighting, and symmetry.
- In most rooms, the mirror looks best with the centre at around 150cm–160cm from the floor
- Above furniture, leave roughly 15cm–25cm between the top of furniture and the bottom of the mirror
- Stand back and check it looks centred with the console/drawers/sideboard below
- Consider what the mirror will reflect — aim for light and depth rather than clutter
Pro tip: Use masking tape to outline the full arched shape on the wall. This is particularly helpful with curved tops, as it allows you to assess visual balance before drilling.
2) Understand the relationship between your final mirror position and the fixing points
This is the step most people miss.
You do not mark the wall based on where you think the mirror should go. You mark it based on where you want the mirror to finish visually, and where the rear hanging plates sit relative to the frame.
With the mirror safely supported (on a blanket), measure:
- The horizontal distance between hanging plates
- The vertical distance from the top edge of the frame down to each hanging plate
- How many fixing points your mirror uses (2–3, depending on size)
Once you know those measurements, you can translate your desired “top edge” or “centre point” position into precise screw locations on the wall. Use a spirit level to ensure those marks are perfectly aligned.
3) Understanding your hanging hardware
Depending on size, your mirror will feature either integrated keyhole-style plates or reinforced slot plates mounted to the backing. Both systems are engineered to engage securely onto wall screws when installed correctly.
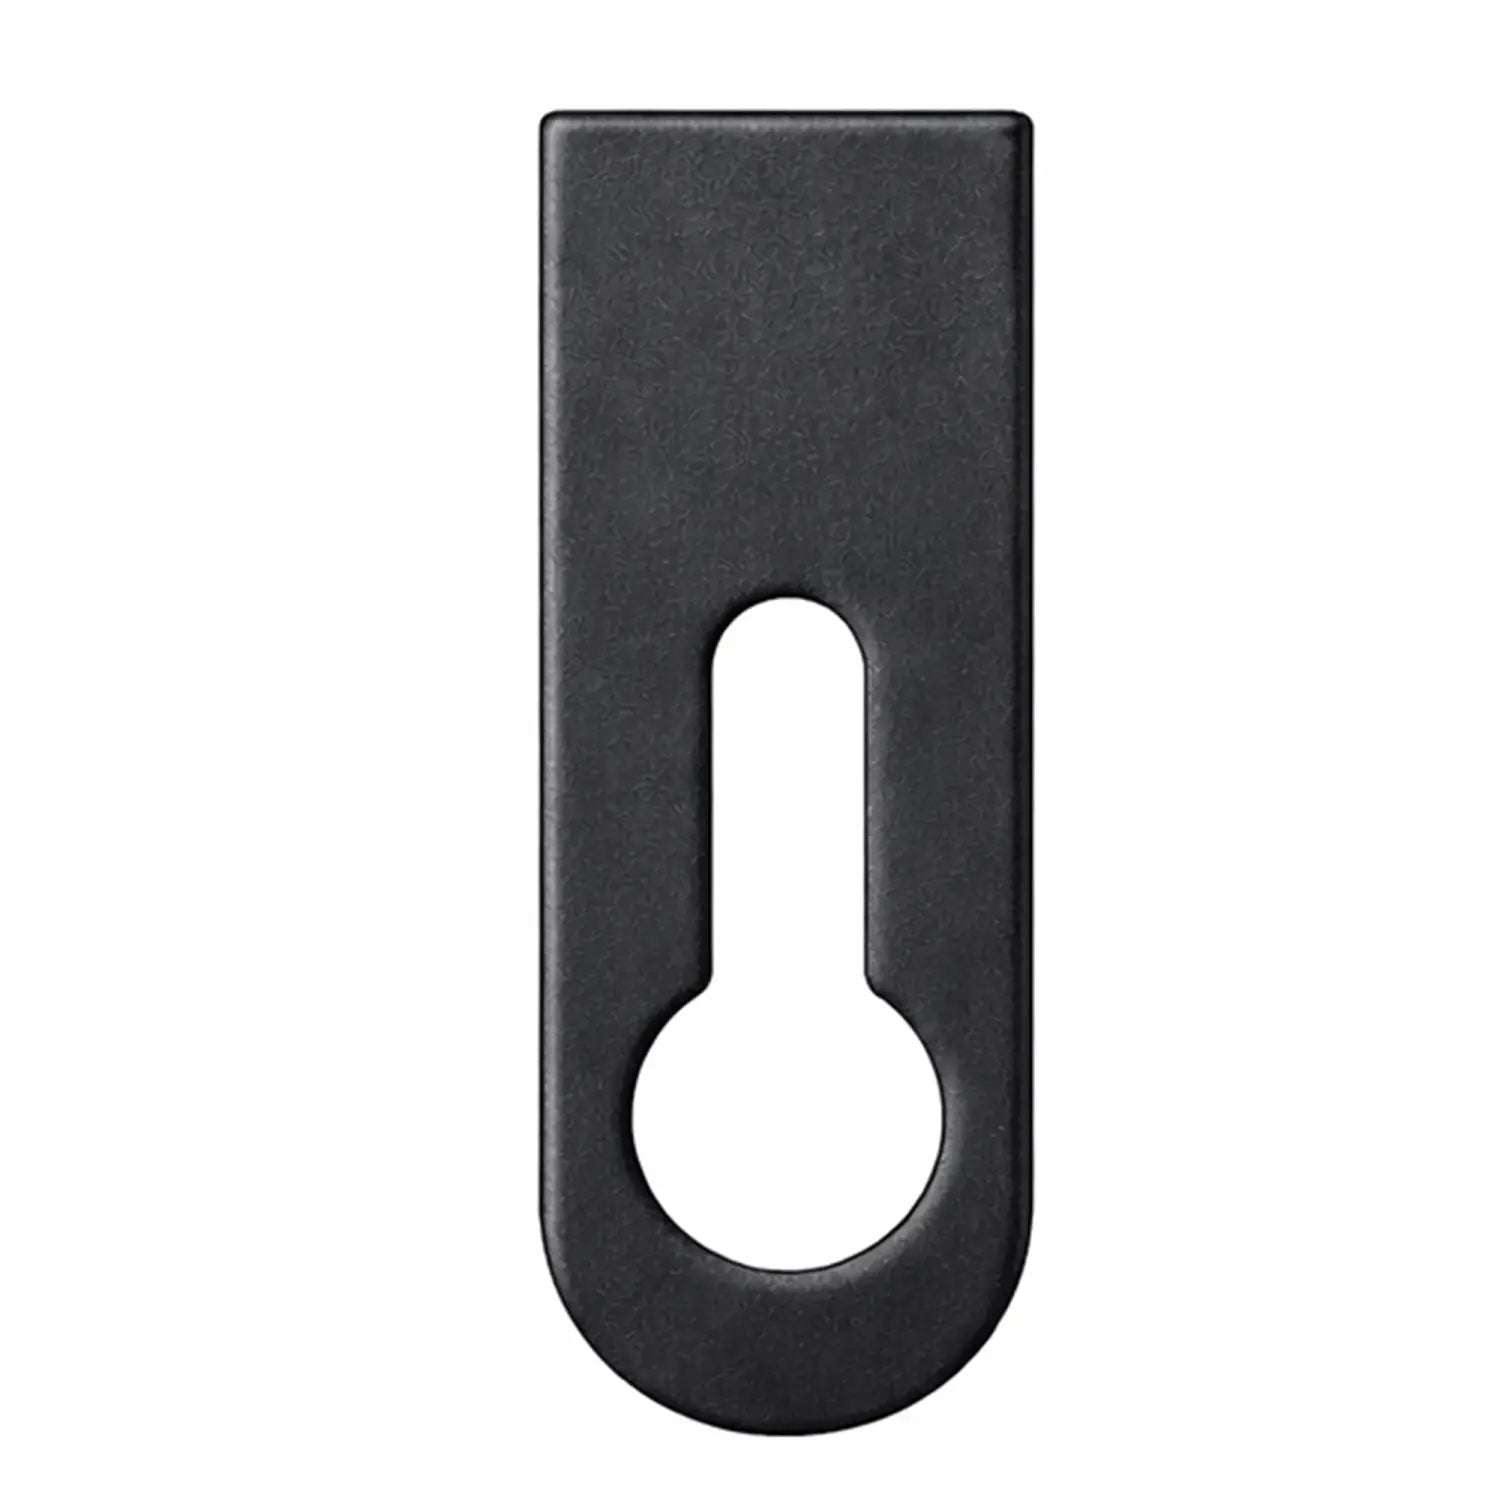
Type One: Keyhole Plate
|
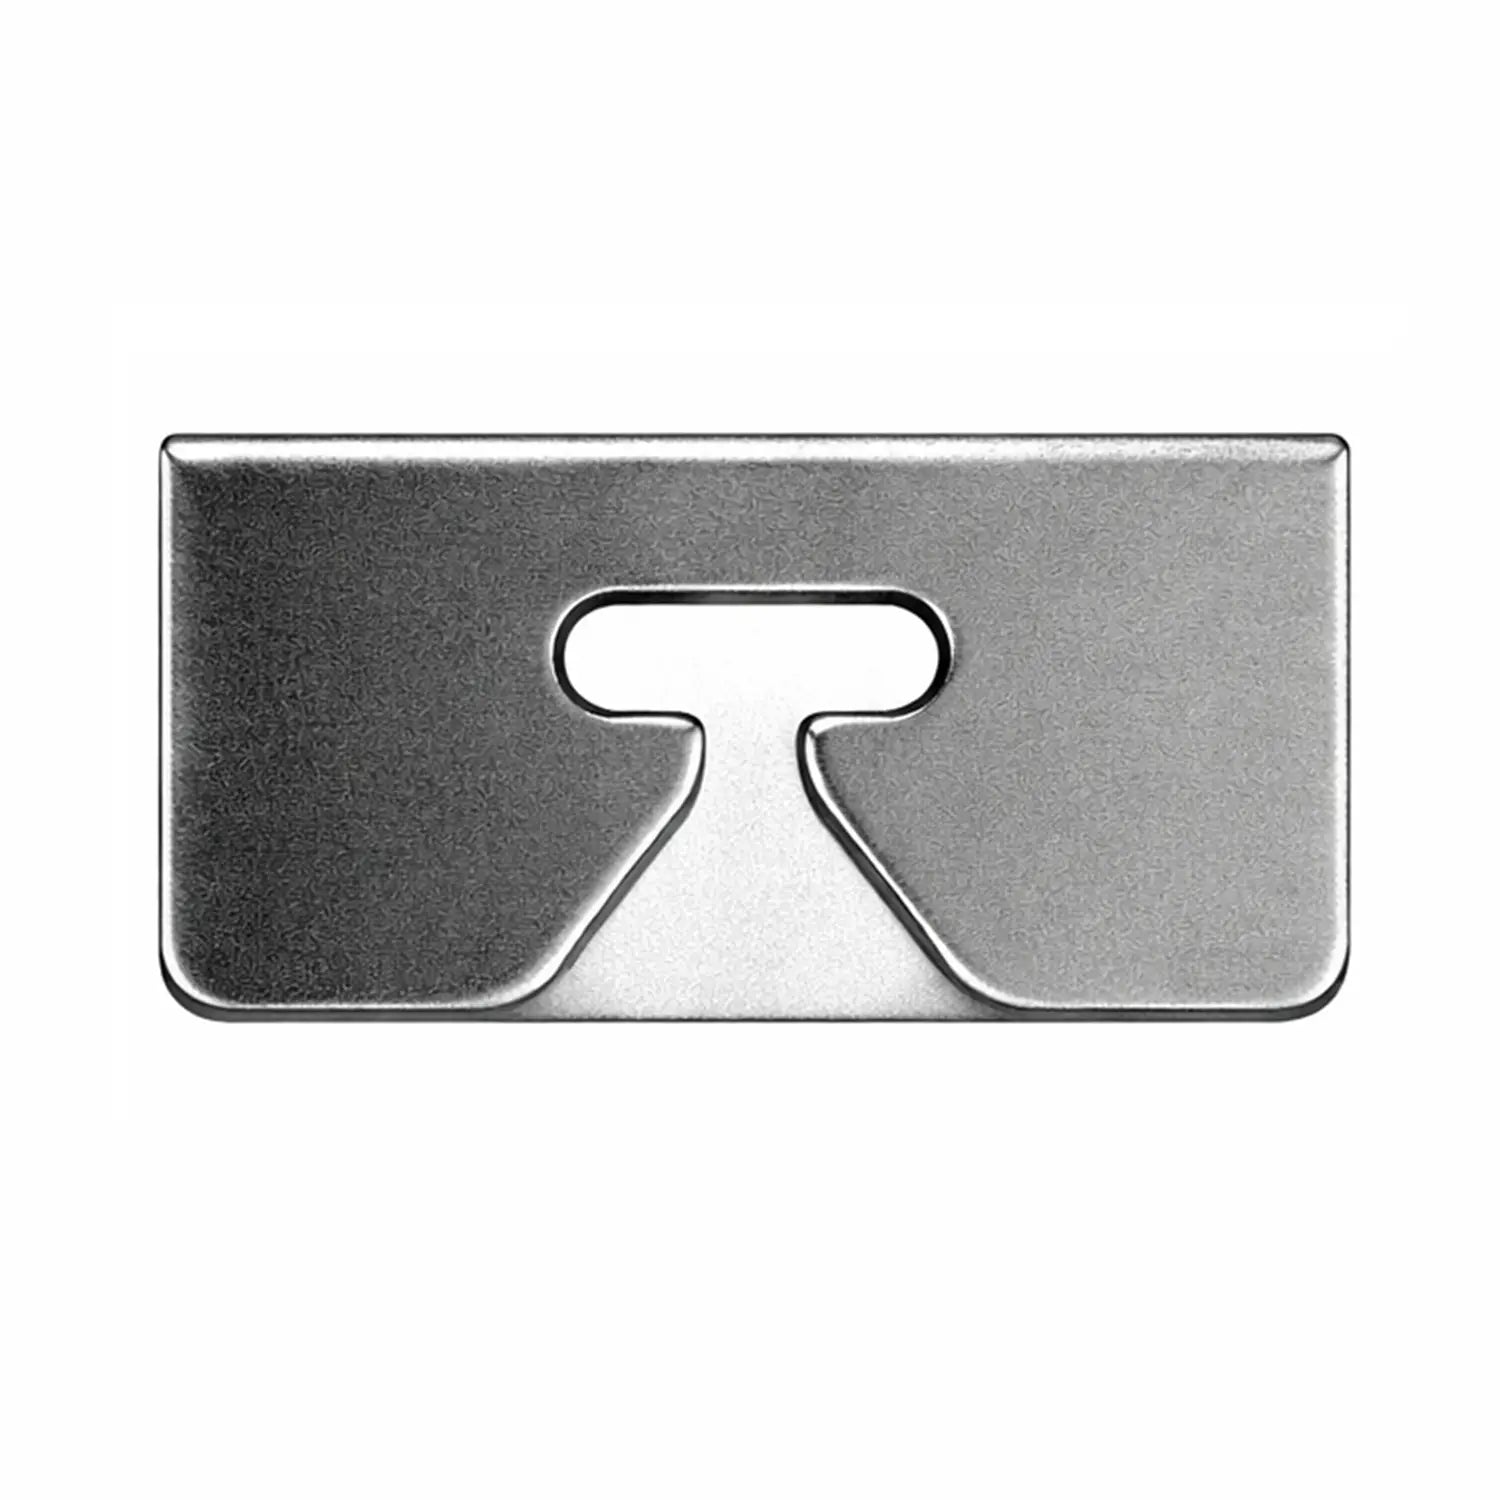
Type Two: Reinforced Slot Plate
|
4) Allowing for manufacturing tolerances
Metal-framed mirrors may have very minor tolerances in bracket positioning compared to mass-produced items. This is normal and does not affect safety when installed correctly.
- Prioritise how the mirror looks visually on the wall
- Use the spirit level on the frame, not just on your wall marks
- Fine-tune screw depth slightly if needed
- If it looks level to the eye, it is correctly installed
5) Mark and prepare your drilling points
Mark drilling points lightly in pencil and double-check bracket spacing against your mirror measurements.
Pro tip: Place masking tape over the drill point before drilling. This reduces surface chipping and prevents drill bits wandering.
- Confirm height and centring one final time
- Use a stud finder to reduce risk of drilling into hidden pipes or cables
6) Selecting the correct wall fixings (critical step)
Fixings are not supplied because wall construction varies. You must choose fixings that are:
- Suitable for your wall type
- Load-rated above the mirror’s required weight
- Brick / Concrete: Heavy-duty wall plugs and high-load screws
- Plasterboard: Heavy-duty cavity anchors or toggle bolts
- Stud walls: Fix directly into studs where possible
If unsure, consult a qualified installer.
7) Calculating load capacity for your fixings
Mirror weight ÷ number of fixing points = minimum load per fixing point
Example (large mirror): Yoko 200x120 weighs 35.3kg and uses 3 fixing points. Each point must support at least 11.77kg before applying a safety margin.
Example (mid-size mirror): Akiko 120x95 weighs 16.2kg and uses 2 fixing points. Each point must support at least 8.1kg before safety margin.
Your chosen fixings should comfortably exceed these values.
8) Installing fixings into solid walls
- Drill holes using a masonry bit sized correctly for your wall plugs
- Drill to the appropriate depth
- Remove dust from the hole
- Insert wall plugs flush with the surface
- Screw in screws, leaving the correct protrusion for the hanging plates
Pro tip: Hold a vacuum nozzle beneath the drill point while drilling to reduce mess.
9) Hanging and aligning the mirror
- Lift the mirror into position with assistance
- Lower carefully so hanging plates fully engage
- Check stability before letting go
- Use a spirit level to assess the frame
- Make small screw adjustments if needed for perfect alignment
10) Final safety checks
- Confirm the mirror sits flush and stable
- Check for any movement
- Do not add additional weight to the frame
- Keep children from climbing or pulling
- Periodically re-check fixings over time
- If unsure at any stage, consult a professional installer
Important: These mirrors must be installed with the arch at the top (portrait orientation only).